As any girl knows one of the main components to having a good day is good hair. Another thing any girl knows is that having a good hair day every day is far off from reality…however that doesn’t mean you have to sacrifice a whole day to the uncontrollable hair. So what can one do?
Wear a headband! Yes, yes, we’ve heard the rumors about headbands being a fashion-don’t. No, no, this is not true! Never be afraid to whip out the headband to pull back your hair. They too can be trendy and save the day.
In fact, let me introduce everyone to the newest, and most convenient trend…wire headbands! What are wire headbands exactly? They are purely self-explanatory, and are simply headbands with wires inside-making them extremely easy to wear.
No more worrying about slipping, sliding, or tipping off the headband! Wire headbands stay on while looking far too fashionable. There are endless possibilities of designs and patterns that can accompany wires to form the headbands.
Interested in making one for your lonesome hair? Follow these steps and you’ll be on your way to turning your bad hair days into great hair days:
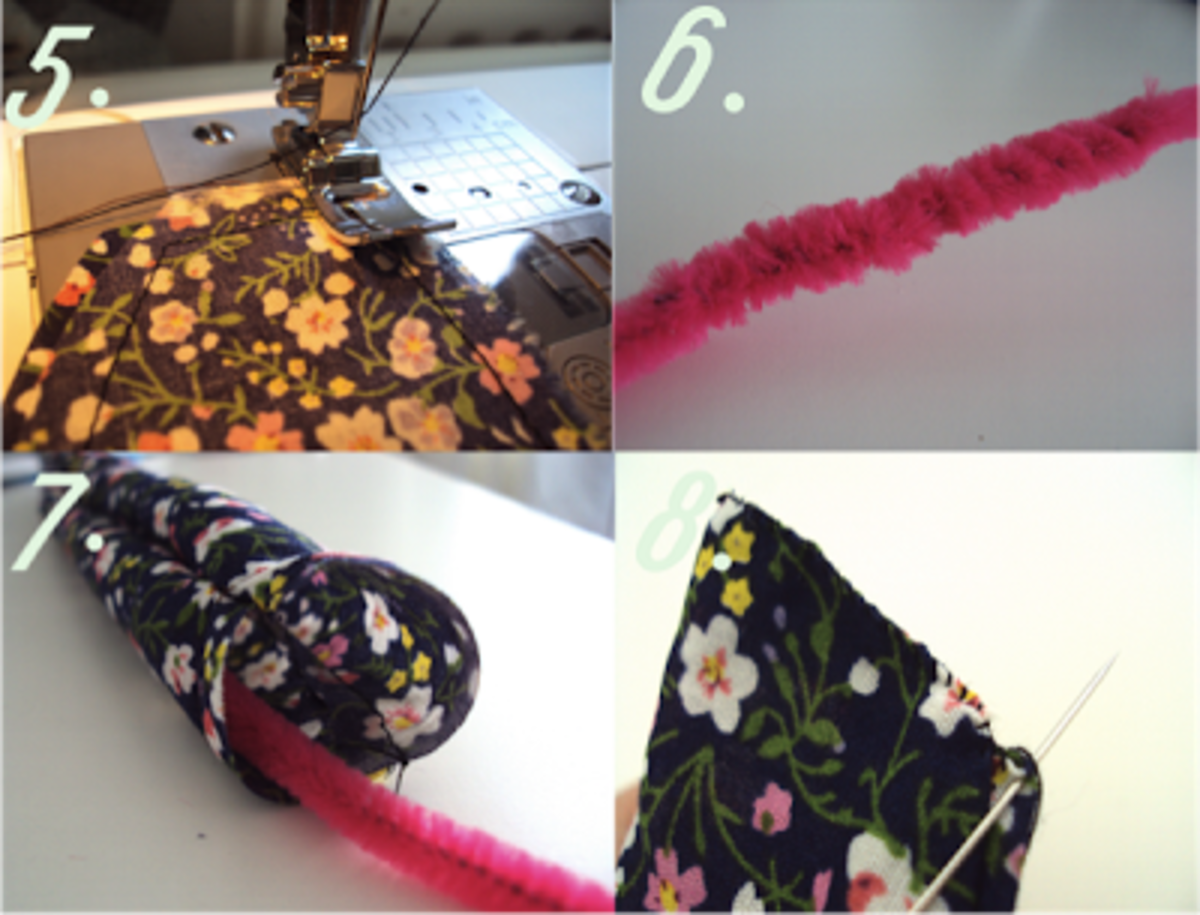
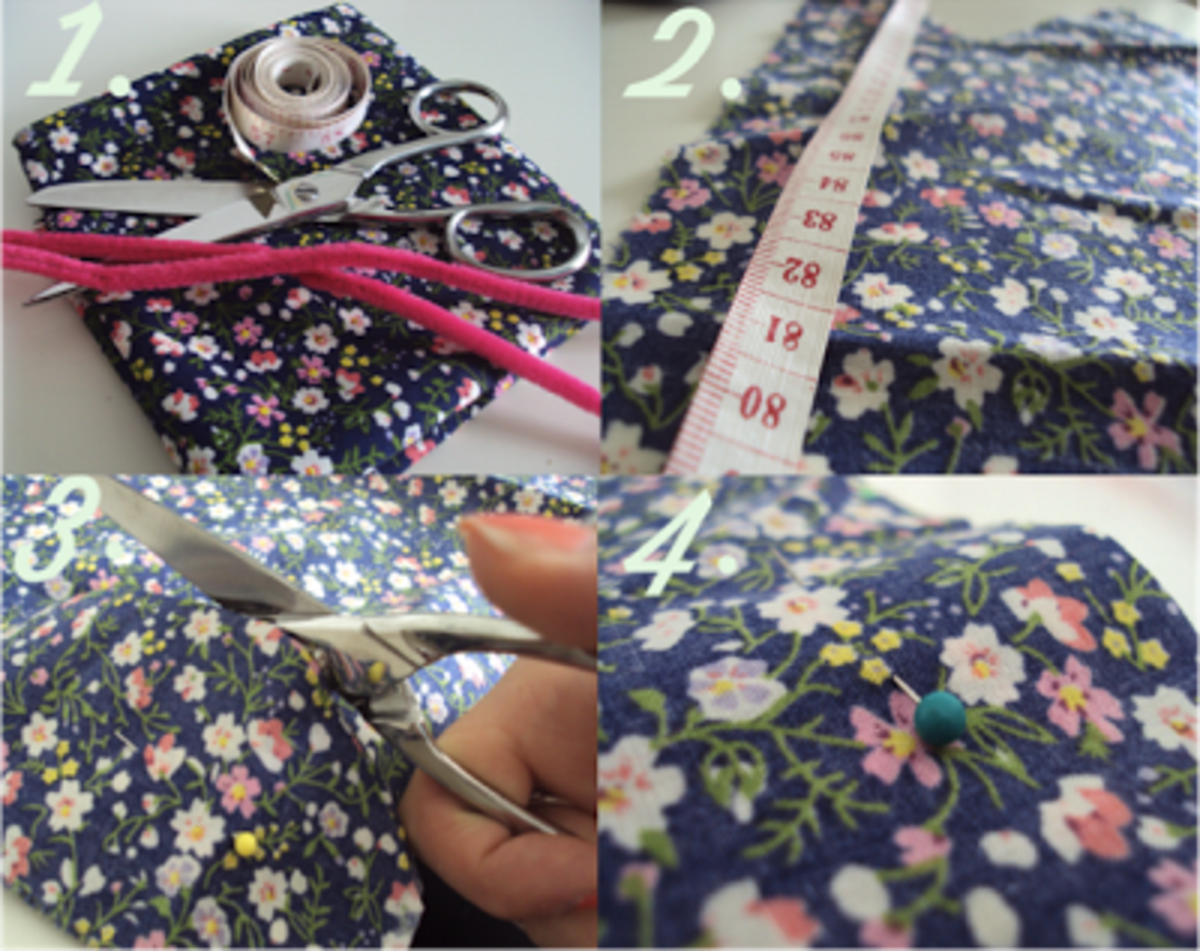
Step 1: You will need some floral material, a tape measure, fabric scissors, pipe cleaners or wire, pins, and a sewing machine.
Step 2: Measure your head; wrap the measuring tape all around your head. Then cross the measuring tape over at the top and see how much you want spare at either end, add on 1.5cm for seam allowance. Mine was 80cm to give you a rough idea. Then measure that out onto your material and draw in the depth to however thick you want you headband to be. Make sure you leave a seam allowance going all the way round the edges of your template. At each end of your template draw a curve down so it has a nice rounded shape at each end.
Step 3: Cut this out.
Step 4: Pin your first template to your material and cut around this to make the second piece. Then with the identical pieces right sides together pin in place.

Step 5: On a sewing machine, sew all around the outside of your material, but make sure you leave one end open so you can thread your pipe cleaners through.
Step 6: Join your pipe cleaners together so they fill the length of your headband. Twist them together nice and tightly.
Step 7: Thread your long pipe cleaner through the gap in your headband.
Step 8: With thread that matches your material, hand sew the gap closed with blanket stitch.
Good luck with your fashion-forward, trendy-headband endeavors!
And remember: “Fashion is about dressing according to what’s fashionable. Style is more about being yourself.” –Oscar de la Renta
Sycamore Style Guide signing off…
Yours truly,
Z&O
Story continues below advertisement


